
Note: This article contains references to Advanced Web Ranking Desktop, a version that is no longer under active development.

Welcome aboard and thanks for flying with us! We're here to make your SEO reports sharing safe and comfortable. All AWR reports can be uploaded securely on the new AWR service. Once airborne, you and your clients will be able to view reports online.
This little "preflight" briefing announces the new online reporting system integrated with Advanced Web Ranking 9.2. This web service gives you the ability to upload and share your ranking, links and analytics reports online, so that your clients can access them from any location, through secure user profiles.
Report mobility at your fingertips
As an SEO, one of the biggest problems that you encounter is report mobility. Let's say that, while you're traveling, you receive a phone call from a client referring to a specific ranking report. What wouldn't you give to see that report on the spot? Well, with web based solutions you might need to trade the accuracy of location based rankings for the possibility to access your data online.
But with AWR Cloud there's no need to make compromises. You now have a web service designed for Advanced Web Ranking, where you and your clients can easily access the reports online. This way, you can enjoy accurate rankings gathered with a desktop software, and the ability to view and share reports online. So, are you ready to embark on this flight?
The report sharing workflow
Reports management in the AWR Cloud is very simple: you, as the cloud administrator, create cloud users for your clients. Then you simply need to choose which reports you want to make available to each client, and they will be automatically uploaded to the cloud.
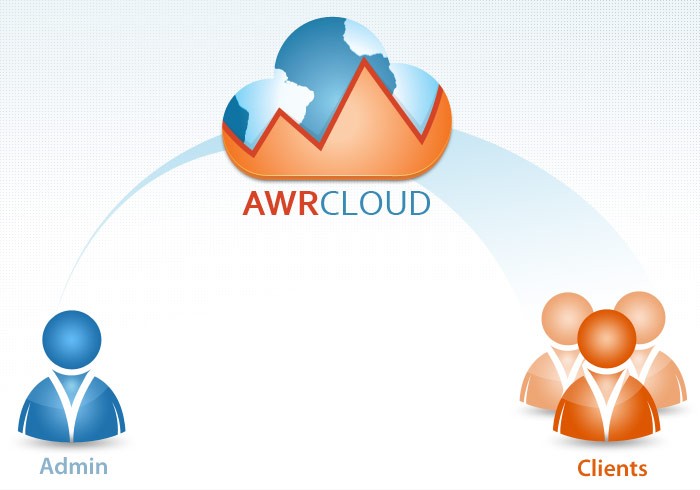
How it works
To start using the new service, you need sign up for AWR first, and configure your account. You will receive a free cloud administrator account, which includes an unlimited number of users and 10 reports / month that you can share with them. Let's take a look together at the configuration steps before "takeoff":
1. Create the Administrator account
To define your profile as Administrator, just Sign up for the AWR Cloud.
You can do this directly on the web, or from the Advanced Web Ranking application (open any HTML template from the "Reports" menu and click on the "Upload report to the AWR cloud" grid).
You will receive an account activation email in a few seconds. Just click on the link it contains to enter your account.
If you sign up from Advanced Web Ranking, once you confirm the account and return to the application you will be automatically logged in as cloud administrator.
For example, let's define together a testing administrator account directly on AWR. All we need is to enter our email address and set a password.
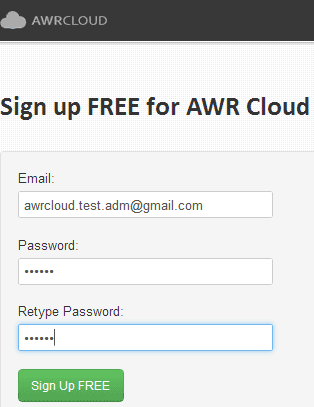
When the account becomes active, we'll be able to see an introduction page, with a short description of how the system works.
2. Invite clients to the cloud
The next step is to define the cloud users, by inviting your clients to join the AWR Cloud. These accounts will be password protected and all pages will be accessed via a secure https connection.
It is recommended to invite one contact person from each client, so that you can further associate her cloud user with the related Advanced Web Ranking project.
There are two ways to invite clients:
Online
Go to the "Users" page in your cloud administrator account and click on the "Invite Users" button.

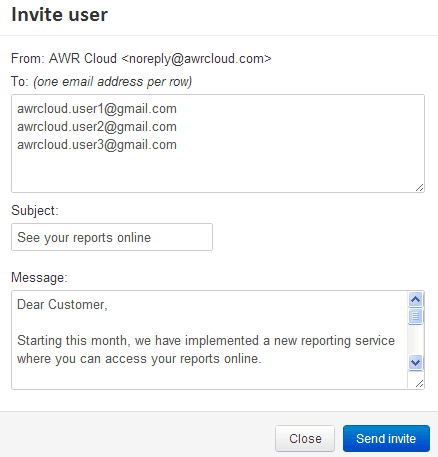
This will open a form where you can enter the email of the clients you want to invite. Also, the form contains a default "invite message". You can use it as is (just don't forget to add your signature at the end :)), or your can enter your own personalized message.
When you're done, click on "Send invite". An email will be sent to each client with the invite message and the activation link for the related user.
From your AWR Address Book
If you already have your clients' emails in the Address Book of the Advanced Web Ranking application, you can choose your cloud users from there. To do this, open an HTML report template, and make sure you are already signed in the application as cloud administrator.
Now, click on the "+" button and choose the first option in the newly opened dialog, which is "Invite from Address Book".

This will open the list with your clients' email addresses. Just select the ones you want to invite to the AWR Cloud and click on "Invite selected clients".
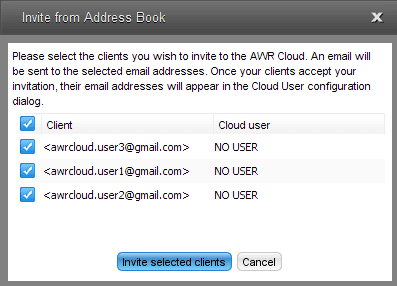
You will be automatically redirected to your cloud administrator account online, with all selected emails pre-filled in the "Invite Users" form, so you can custom the message and send the invite.
All invited clients will be listed in the administrator's Users page with the status Pending. When a client activates the account, you will see her with the status Active.
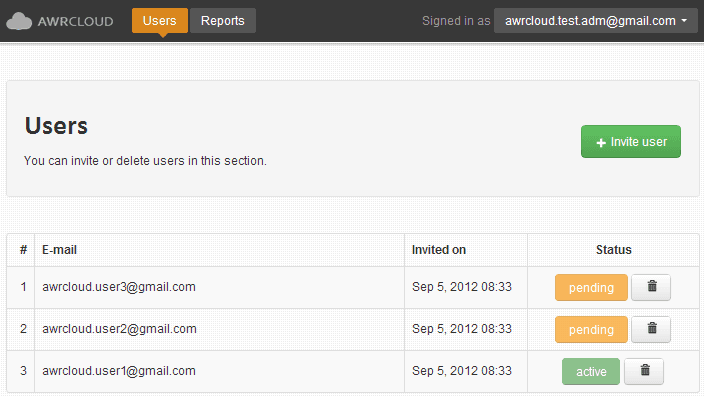
Each client that accepts your invitation and activates her cloud user will have her own profile where she can view the reports you upload for her.
For this example, let's invite three testing clients to the cloud.
After they click on the link and activate the account, they will be redirected to the AWR Cloud and prompted to set a password for their user.
Now all there's left to do is to upload SEO reports to the cloud.
3. Share reports online
When you have at least one user active, you can start uploading reports that were generated by Advanced Web Ranking.
Let's take for this example the Complete SEO Report. This is a browsable report that your clients can browse through and make real time selections.
There three easy steps to upload and share your reports on the cloud with your users:
Select the user
To do this, you need to click on the Reports menu in Advanced Web Ranking and open the Complete SEO Report template in Edit mode.
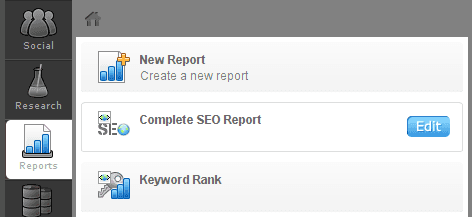
Here, click on the "Upload report to the AWR Cloud" grid and select the "Upload to cloud" checkbox. This will tell the application to upload to cloud the reports that you generate from this template.
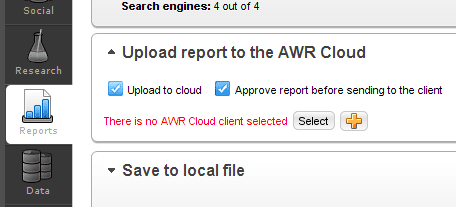
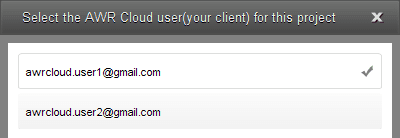
Then click on the "Select" button to choose the cloud user (your client) who will be able to see this report.
You can choose only one cloud user per project, which will be displayed in the "Upload report to the AWR Cloud" grid. All the report templates in a project where the "Upload to cloud" checkbox is selected get to be sent to one cloud user.
For the example in this article, let's choose the first testing client to receive the Complete SEO Report.
Generate the report
Once the report template is set up and the cloud user is selected, you need to generate the actual report file from Advanced Web Ranking. You can do this manually, by clicking on the "Generate" button at the top of the report template, or your can generate the report automatically with a scheduled task.
Let's generate the report manually this time.
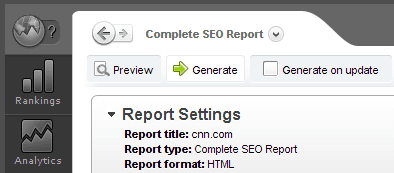
Once generated, this report will be visible in the "Reports" page of the cloud administrator account.
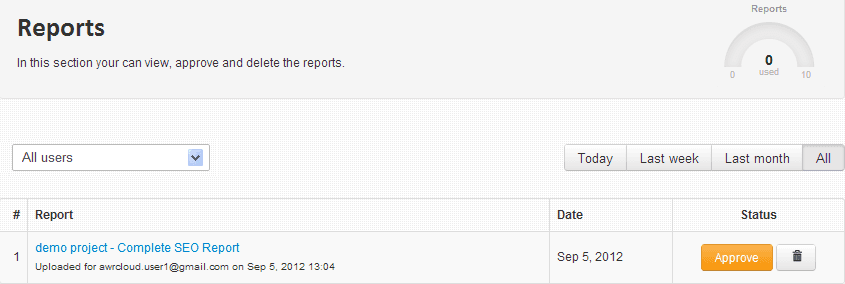
Approve the report
There's one more step you need to take to make the reports available online for your clients.
To avoid sharing something that you don't want to actually show to your users, AWR Cloud has implemented an approval system for the report files you upload. Thus, you need to approve the reports before they are sent to the clients.
There are two ways to approve reports: either manually, by clicking on the "Approve" button for the related report listed in your cloud account; or automatically, by deselecting the "Approve report before sending to the client" checkbox from the AWR report template.

For the example used so far, let's use the manual approval method. The file will be listed as Approved and counted to the monthly reports quota of the cloud administrator.
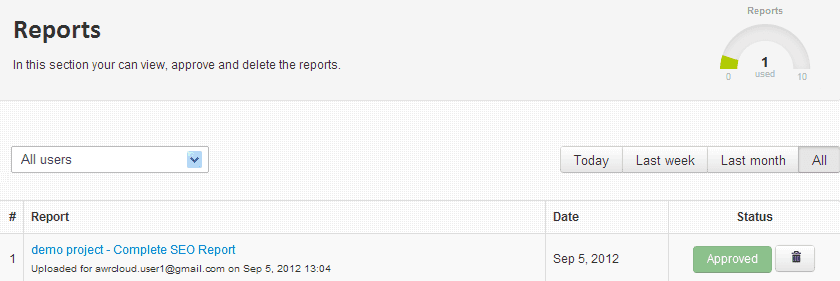
Once approved, the report file becomes visible to the could user for which it was uploaded. The report name will be displayed in the "Reports" page of the client's account, together with the report date and the upload date.

To view the report, the client just needs to click on the report name.
Here is how the Complete SEO Report generated for the testing clients looks like.
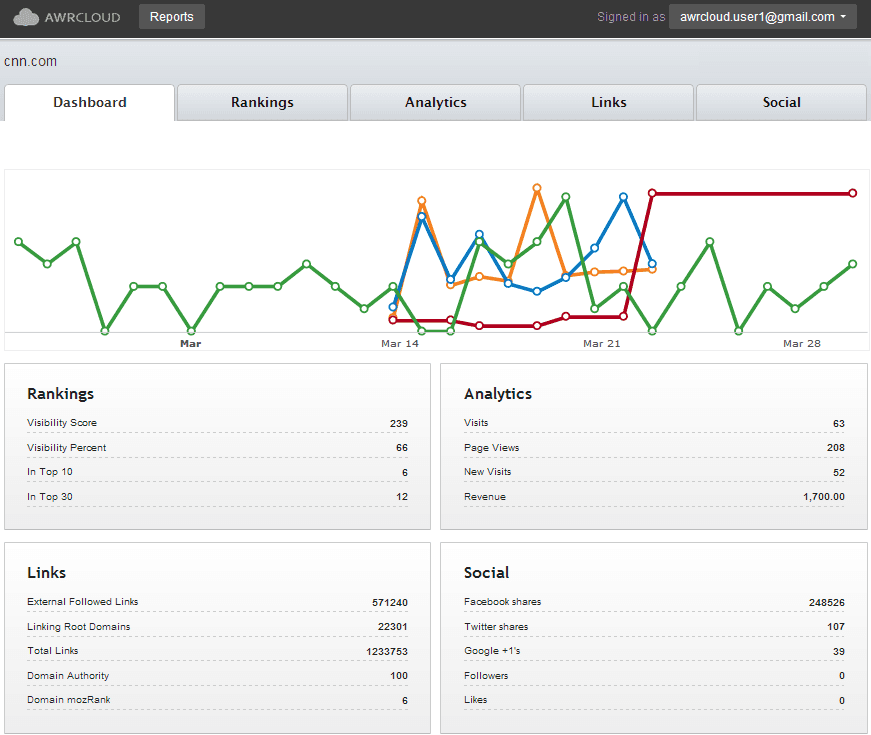
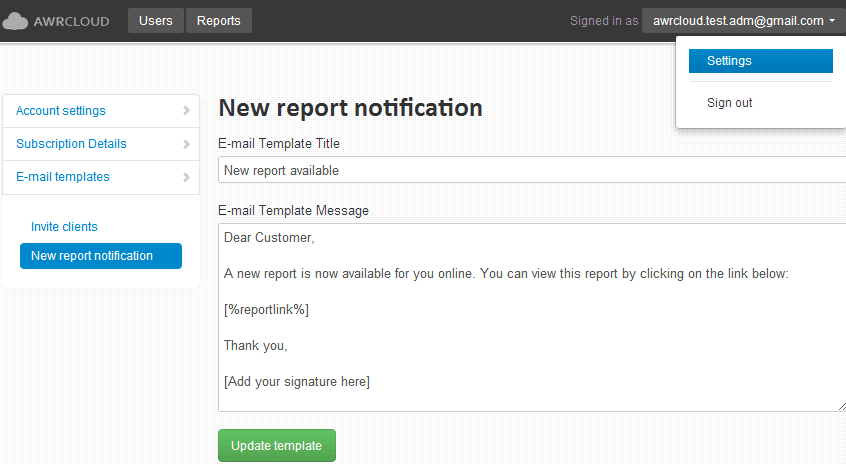
The client is also notified by email that a new report is available for her. You can see and customize this email template in the Settings - Email Templates section of your cloud administrator account.
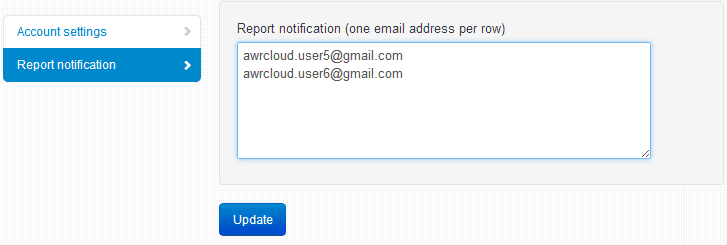
Optionally, the cloud users can enter additional email addresses where the "New report notification" should be sent. This can be done from Settings - Reporting Emails.
That's about it! Now you are ready to fly with the AWR Cloud and share awesome reports with your clients.
Conclusion
Viewing your data from any location and at any time is a crucial requirement, both for you and for your clients' business. But the accuracy of the data you present to your clients is just as important. With the AWR Cloud, SEO reports are easily uploaded and managed online, with no need to configure your own FTP servers. Thus, you can provide your clients with an overall professional service, by delivering location based search results in reports they can easily access online.
I hope you enjoyed the article. To see for yourself the benefits that the new reports system has to offer, take advantage of the free 30 days trial version of Advanced Web Ranking and sign up for the AWR Cloud.
Happy reporting! And let me know what you think about it below.
Article by
Aura Dozescu
Aura Dozescu was a Customer Care Specialist for AWR. Passionate about Internet Marketing and SEO technologies, she worked closely with SEO software developers to implement the feedback received from customers.
stay in the loop


